Step 1: locate studs
Locate a stud in your wall using a stud finder or an alternative method. Studs are typically placed every 16" on center. If you don't have a stud finder, there are a variety of methods you can use if you search the interwebs. Here is a good starting place: LIFEHACKER: FINDING STUDS WITHOUT A STUD FINDER
Mark the studs.
|
|
Step 2: Mark the mounting location
Mark a location on wall at the center of the located stud at the height you want the system. Each Koova system has a minimum height. Follow the instructions below for your Koova system.
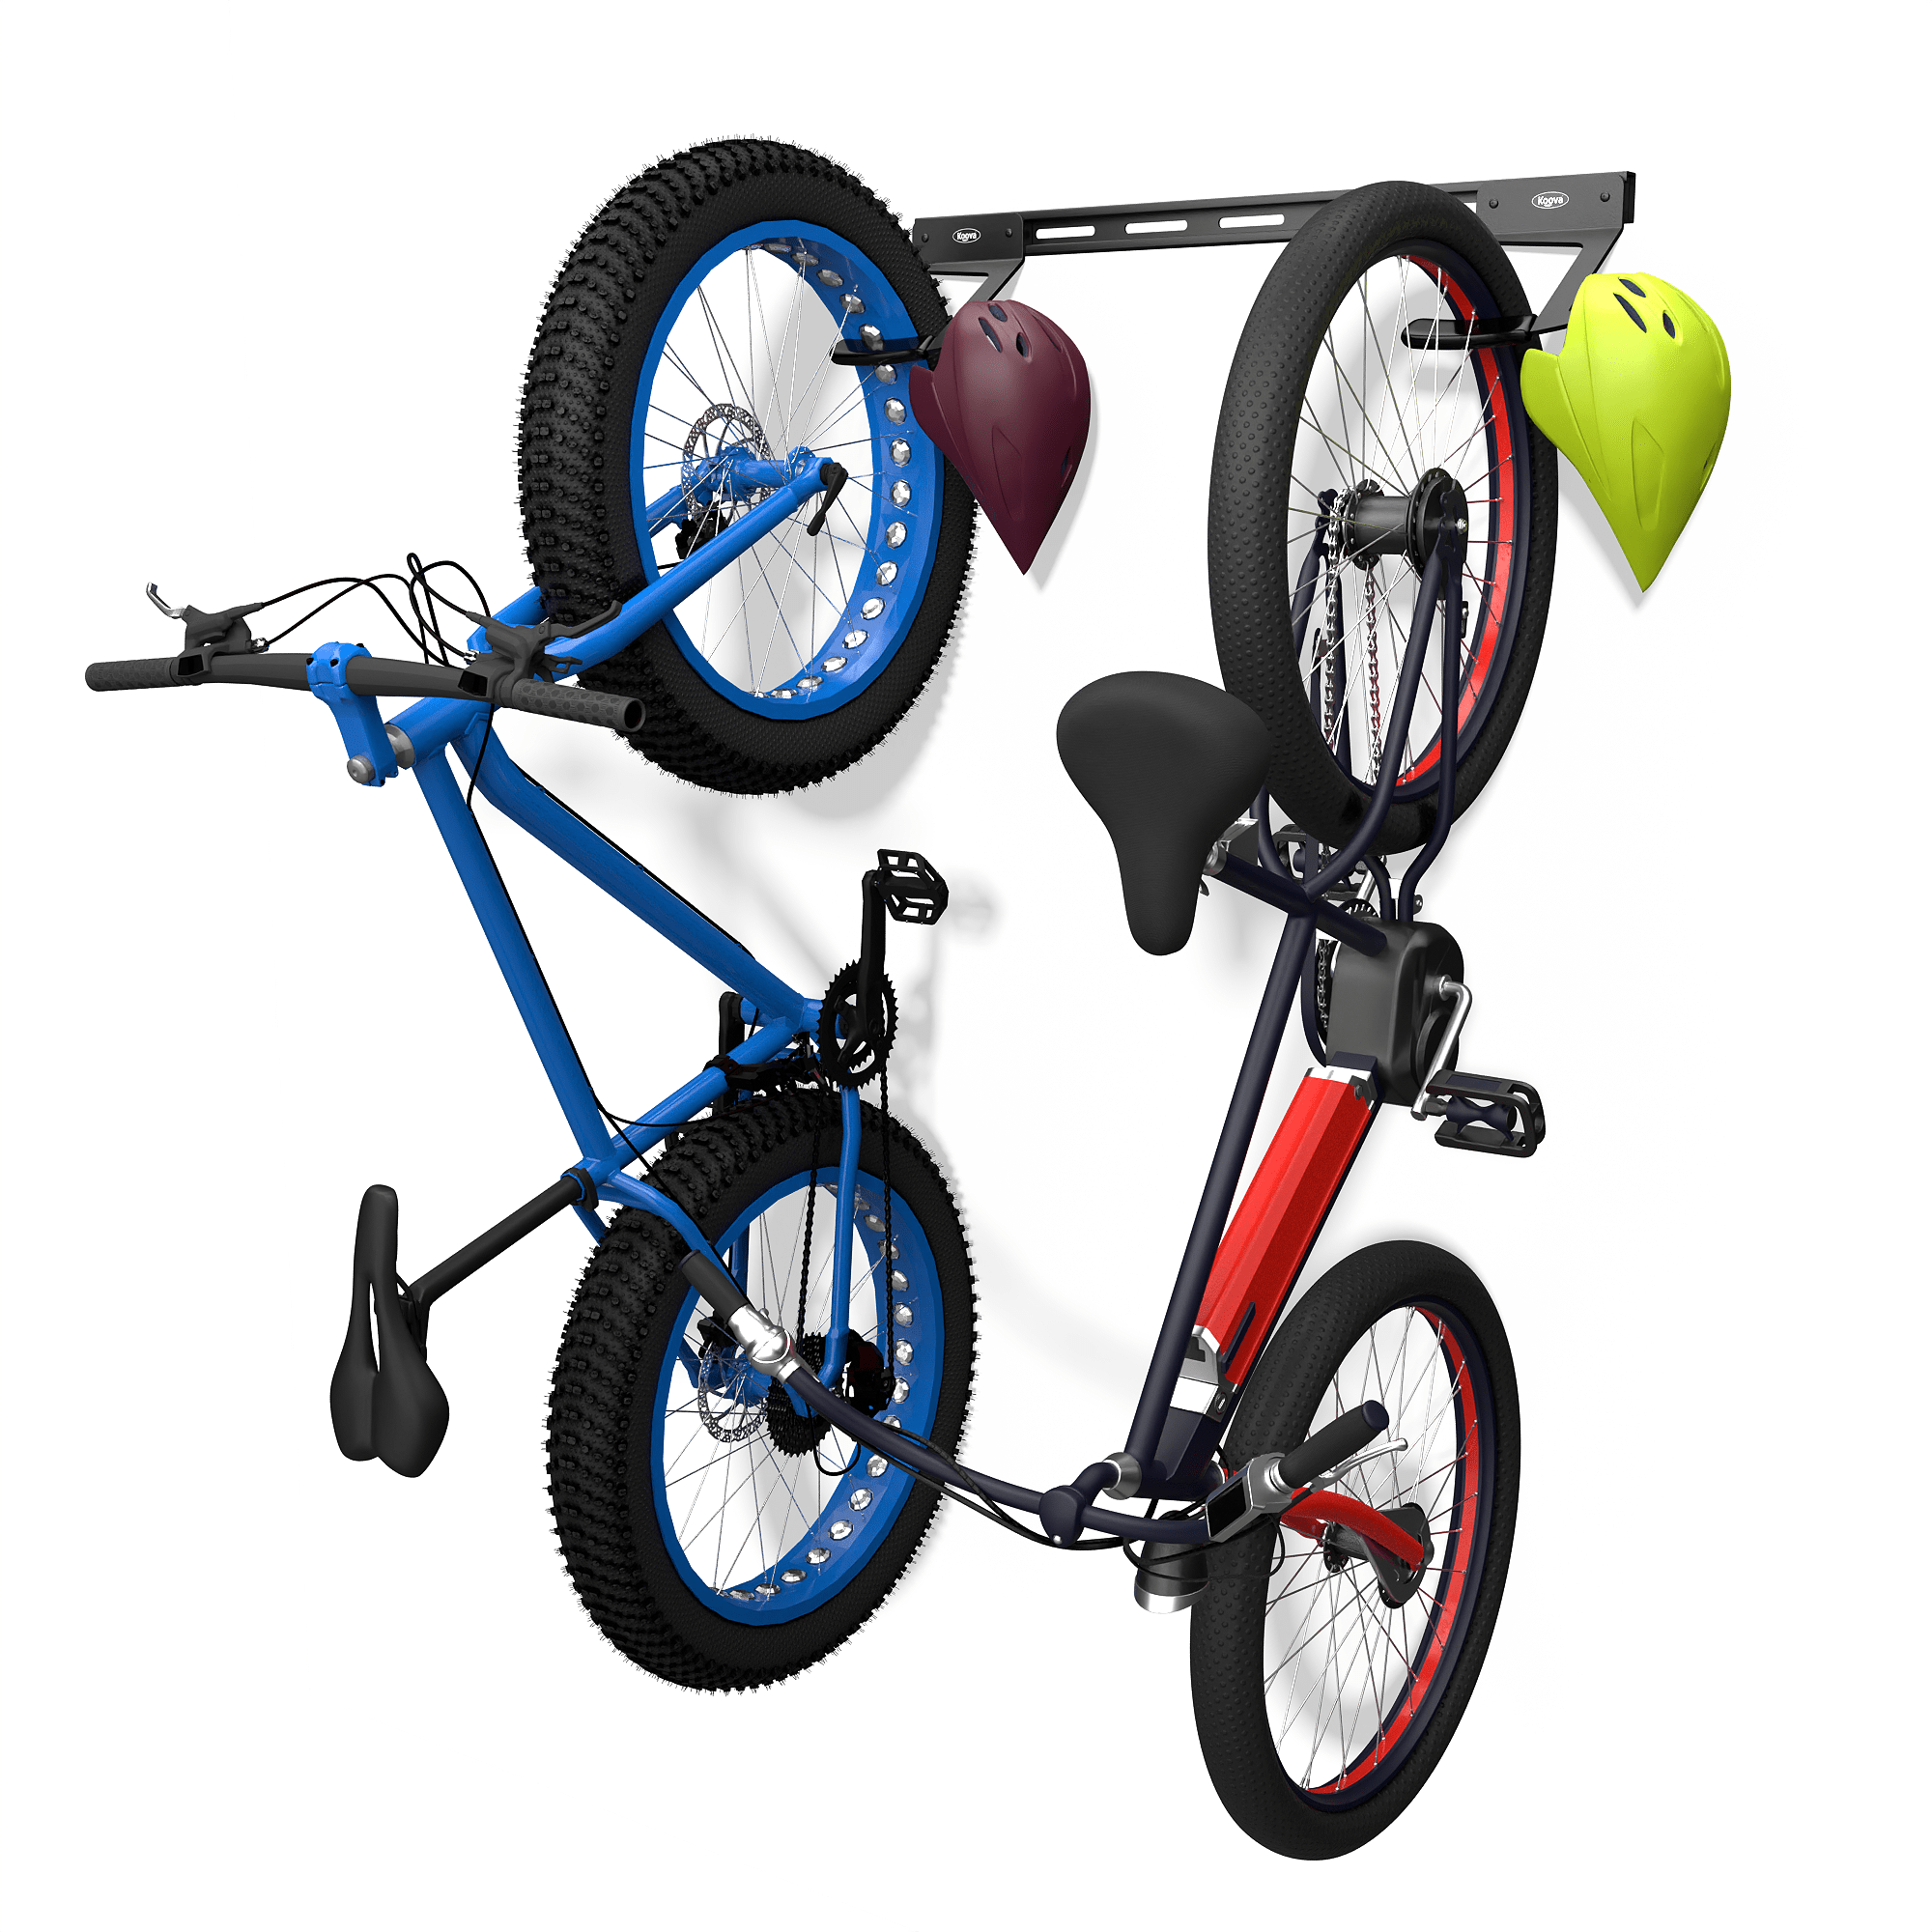
KOOVA BIKE RACK ORGANIZATION
- The height of your Koova strut will be equal to the length of your largest bike. Measure your largest bike from the back edge of the back wheel to the front edge of the front wheel.
- Your Koova system will mount on the stud (found in step one) at the height determined above. Mark this location.
- Make an additional mark at the same height on a second stud, usually 16" apart from the first mark.
KOOVA GARDEN AND GARAGE TOOL ORGANIZATION SYSTEM
- Measure the length of the longest tool to be hung.
- Add 4" to the measurement. This is the minimum height for your wall mounted tool organization system.
- Your Koova system will mount on the stud (found in step one) at the height determined above. Mark this location.
- Make an additional mark at the same height on a second stud, usually 16" apart from the first mark.
KOOVA GOLF BAG ORGANIZATION
Click Here for Video Instructions for Assembling the Golf Rack
- Measure the length of the largest golf bag to be hung.
- Add 4" to the measurement. This is the minimum height for your wall mounted golf organization system.
- Your Koova system will mount on the stud (found in step one) at the height determined above. Mark this location.
- Measure 24" directly below the mark you made for the second lag screw.
KOOVA SKI ORGANIZATION
- Measure the length of the longest ski to be hung.
- Add 4" to the measurement. This is the minimum height for your wall mounted ski organization system.
- Your Koova system will mount on the stud (found in step one) at the height determined above. Mark this location.
- Make an additional mark at the same height on a second stud, usually 16" apart from the first mark.
|
|
Step 3: Mount the Koova Strut
Hold the Koova strut up to the wall so that you can see your two mounting marks from Step 2 through the oval cut outs in the channel. Place a washer on one of the included lag bolts and line it up with the mark or pilot hole. Tighten with a 5/16" wrench or socket.
Tighten it enough so that the Koova Strut will remain perpendicular as you locate the stud for the second lag screw.
Insert the second lag screw with washer and tighten.
|
|
|
Step 4: ATTACH A KOOVA HOOK, HANGER, oR SHELF
KOOVA BIKE RACK -or-
KOOVA GARDEN AND GARAGE RACK -or-
KOOVA SKI RACK
- Choose a Koova attachment and insert a Koova screw into the front hole.
- Loosely connect a Koova nut onto the bolt. Make sure the Koova nut "teeth" face the back of the attachment.
- With the Koova nut horizontal, place the attachment on the Koova Strut where you want it to go.
- Loosely tighten the bolt, rotating the Koova nut so that it is oriented vertically.
- Tighten the bolt, locking the attachment into place.
KOOVA GOLF RACK
Click Here for Video Instructions for Assembling the Golf Rack
- Assemble the top bracket
- Feed a Koova bolt through the top of the Bag Claw.
- Place a washer on the bolt and insert the bolt into the top of the Top Bracket.
- Place a second washer on the bolt and then a lock nut. Tighten.
- Repeat with second Bag Claw.
- Feed the loop end of the bungee cord through the hole on the end of the bag claw. Feed the ball end of the bungee cord through the loop you just pulled through and pull to secure.
- Insert two bolts into the two holes on both the Top and Bottom Brackets.
- Loosely connect Koova nuts onto the bolts. Make sure the Koova nut "teeth" face the back of the brackets.
- With the Koova nut vertical, place the brackets on the Koova Strut. The Top Bracket will fasten at the top of the strut. The Bottom Bracket will mount at to bottom of the strut.
- Loosely tighten the bolt, rotating the Koova Nuts so they are oriented horizontally.
- Tighten the bolt, locking the brackets into place.
|
|